
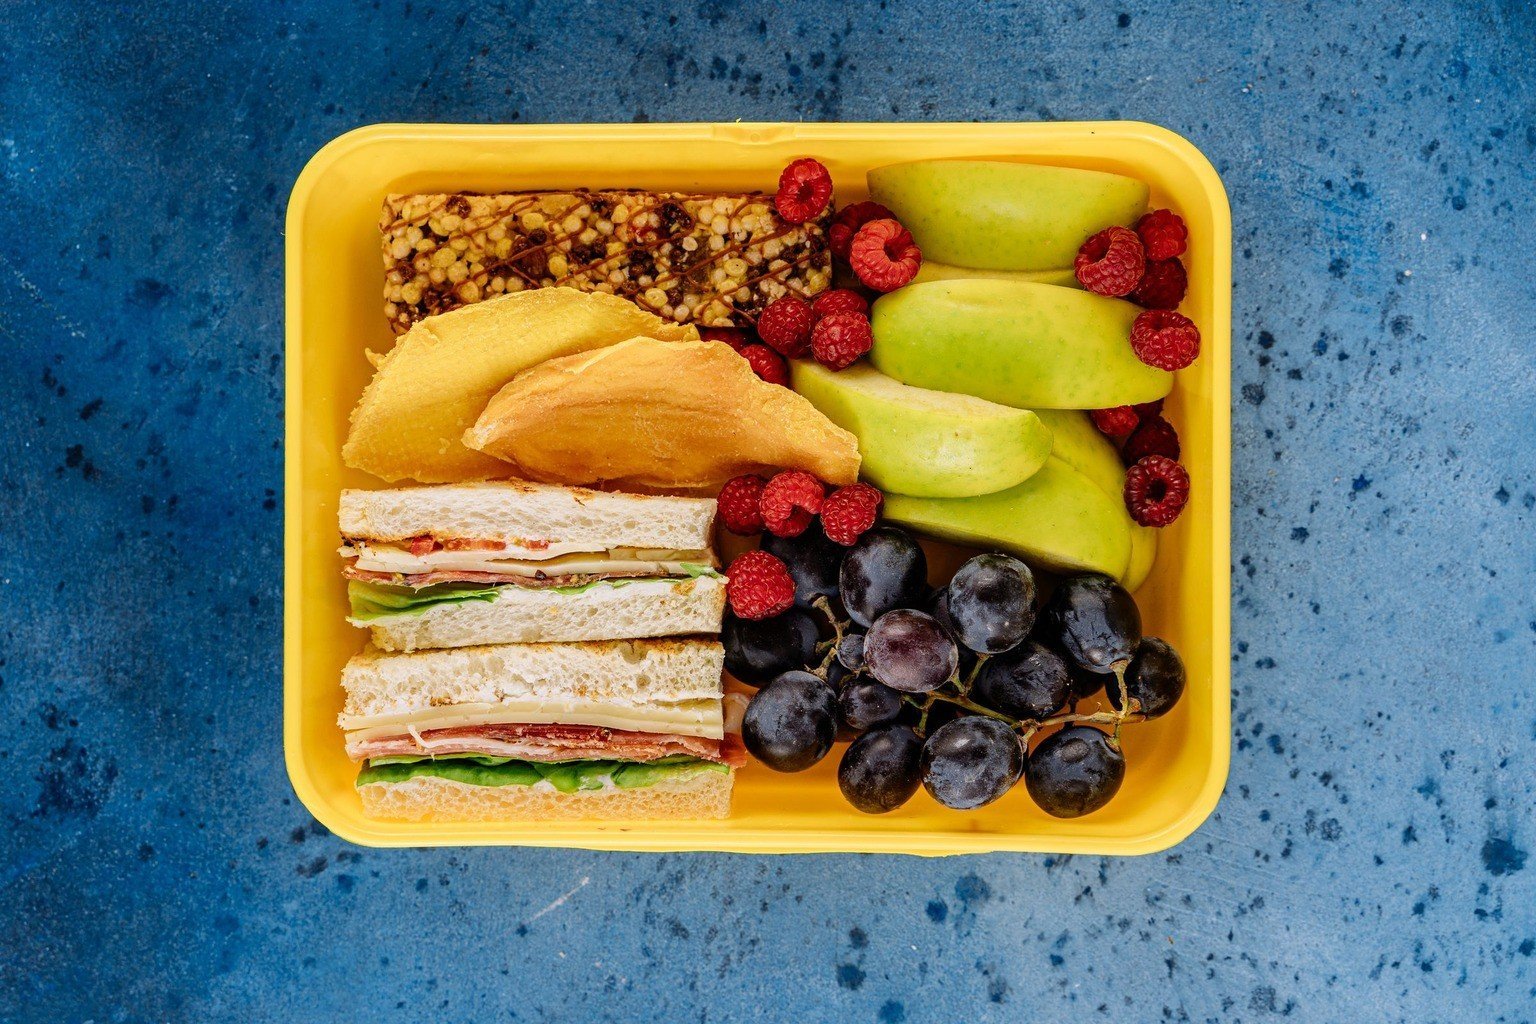

Most school cafeterias do not have a microwave a kid can use, and even when they do, a line of thirty kids and a twenty minute lunch period means the food goes cold anyway. So the best packed lunch is one that is good cold, good at room temperature, or hot from a thermos that never needs reheating.
Good news: that is not a limitation. It is a design rule, and it makes lunch easier. Below is a simple formula, twenty concrete ideas, the thermos and cold pack rules that keep the food safe, and a note on allergies.
The four part box formula
Packing a lunch every morning is a decision problem. Solve it once with a formula, and you stop starting from zero every day. Every box gets one item from each of four groups:
- Protein. It keeps a kid full until the afternoon.
- Produce. A fruit or a vegetable, or both.
- Starch. Something that carries the meal and gives energy.
- Fun. A small thing that makes the box worth opening.
That is it. Protein, produce, starch, fun. When you are tired at 6:45 in the morning, you do not have to invent a lunch. You pick one from each column.
Here is a starter list for each:
| Protein | Produce | Starch | Fun |
|---|---|---|---|
| Sliced turkey or chicken | Grapes | Whole grain wrap | A square of dark chocolate |
| Cheese cubes or string cheese | Apple slices | Pita | Pretzels or popcorn |
| Hard boiled egg | Baby carrots | Crackers | A cookie, halved |
| Hummus | Cucumber rounds | Pasta | Trail mix (where allowed) |
| Beans | Cherry tomatoes | Rice | Fruit leather |
| Yogurt | Berries | Bread or tortilla | A note or a joke on a napkin |
The fun slot matters more than parents tend to admit. A lunch that has one thing a kid is happy to see is a lunch that gets eaten. It does not have to be sugar.
20 lunch ideas that need no microwave
Each idea below fits the formula. Pick the ones your kid will actually eat, and rotate them.
Cold and room temperature lunches
- Turkey and cheese roll ups. Roll a slice of turkey around a slice of cheese. Add crackers, grapes, and cucumber rounds. Protein, produce, starch, fun in one box.
- Pasta salad. Cooked short pasta with cherry tomatoes, cheese cubes, and a light vinaigrette. Tastes better after it sits for a few hours, which suits a lunch box.
- Chicken salad wrap. Shredded chicken with a little mayo or Greek yogurt, in a tortilla, sliced into pinwheels. Add apple slices on the side.
- Hummus and pita box. Pita triangles, hummus, carrots, cucumber, and olives. A good one for kids who like to dip.
- DIY lunchable. Crackers, sliced meat, cheese, and fruit in separate compartments. Kids like assembling it, and you control what goes in.
- Bean and cheese quesadilla, served cold. Make it the night before, cut it into wedges, and pack it with salsa in a small container. It is fine at room temperature.
- Egg salad sandwich. Hard boiled eggs, mashed with a little mayo, on soft bread. Keep it well chilled (see the food safety section below).
- Cheese and cracker plate with fruit. The simplest lunch on the list. Add a hard boiled egg for extra protein.
- Tuna or chickpea salad on crackers. Either one works. The chickpea version is good for kids who do not like fish.
- Nut free “PB and J” swap. Sunflower seed butter and jelly on bread. Use it where peanut and tree nut butters are not allowed.
- Mini bagel sandwiches. Cream cheese and cucumber, or turkey and cheese, on a mini bagel.
- Rice and bean bowl. Cooked rice, black beans, corn, and a little cheese. Eaten cold with a spoon, it is basically a burrito bowl.
- Cold noodle box. Cooked noodles tossed with a little sesame oil and soy sauce, with cucumber and edamame. Sesame is an allergen for some kids, so check first.
- Breakfast for lunch. Whole grain waffles or pancakes made ahead, with yogurt for dipping and berries on the side.
- Snack plate lunch. Slices of ham, cheese, whole grain crackers, berries, and cut vegetables. Kids who graze tend to love these.
Hot lunches from a thermos
- Pasta with sauce. Small pasta in warm marinara, with a sprinkle of cheese packed on the side.
- Chicken noodle soup. A good one for cold weeks, with crackers on the side.
- Mac and cheese. Kid approved and travels well in a thermos.
- Chili. Beans, meat or no meat, and a little cheese. Pack it in a wide mouth thermos so it is easy to eat.
- Rice with chicken and vegetables. Leftover dinner, heated in the morning, that would have been reheated anyway.
Every one of these takes about ten minutes in the morning if you prep one item the night before. You can also cook once on Sunday and use the ingredients across three or four lunches. A pot of rice and a tray of roasted vegetables can cover more of the week than you would expect. For ideas on what is at its best right now, check what is in season in September, and if you need more snack ideas, here are healthy snacks kids will actually eat.
How to make a thermos work
A thermos is the answer to “but I want to send something hot.” It works well if you follow one rule: heat the thermos before you fill it.
Here is the method:
- Preheat the thermos. Fill it with boiling water, put the lid on, and let it sit for several minutes.
- Empty it. Pour the water out.
- Fill with food that is piping hot. Heat the food on the stove or in the microwave at home until it is steaming, not just warm. The USDA advises that hot food should be 140 degrees Fahrenheit or above when packed to stay in the safe zone until lunch.
- Close it and leave it closed. Every time the lid comes off, heat escapes.
A few more tips:
- A wide mouth thermos is much easier for kids to eat from than a narrow one. Buy the wide one.
- Pack a spoon or fork that is not flimsy. A bent plastic spoon and a bowl of hot chili is a bad combination.
- Test it yourself first. Pack the thermos on a weekend, leave it for four hours, and check the temperature. If it is lukewarm, it is not doing its job.
- Keep the hot food hot and the cold food cold, and do not put them in the same bag if you can help it. A hot thermos next to a cold pack does neither any favors.
- Practice opening the thermos with your kid before the first day. Some lids are more difficult than they look.
Keep it cold and safe
This part is not optional. Perishable food like meat, cheese, eggs, and yogurt needs to stay cold, and a lunch box sits in a locker or a backpack for several hours.
The USDA guidance is simple and worth following:
- Use an insulated lunch bag. A paper bag or a plain plastic box does not hold the temperature.
- Use at least two cold sources. An ice pack on top and one on the bottom, or an ice pack plus a frozen juice box or frozen water bottle. The frozen drink thaws by lunch and is ready to drink.
- Keep perishable food at 40 degrees Fahrenheit or below. That is the safe zone for cold food.
- Pack straight from the fridge. Do not make lunches and leave them on the counter overnight. Make the lunch the night before if you like, but store it in the refrigerator until you leave.
- Watch the two hour rule. Perishable food should not sit out for more than two hours, and less than that when it is hot outside. If the lunch was not kept cold, or if it comes home uneaten and warm, toss it.
- Wash the lunch box every day. Bacteria love the leftover crumbs. Wipe it out with warm soapy water, and let it dry.
Some foods are safer than others in the heat. Hard cheeses, whole fruit, crackers, bread, nut free butters, and whole vegetables do fine at room temperature for a while. Mayo based salads, meat, and dairy need the ice. If you are unsure, choose the safer item.
The allergy note
Many schools are nut free, or have nut free classrooms and tables, and some restrict other foods as well. Before you build a week of lunches, read the school’s policy and find out what applies to your child’s grade. Then keep these points in mind:
- Read every label, every time. Manufacturers change recipes, and “may contain” warnings matter.
- Sunflower seed butter, soy nut butter, and pea based spreads are common stand ins for peanut butter. Check that they are made in a facility that suits your child.
- Hummus, cheese, sliced meats, and eggs are good nut free proteins, unless your child is allergic to one of them.
- Never send food that another child could be allergic to if the school prohibits it, and do not let your child trade food at lunch.
- If your child has an allergy of their own, talk to the school nurse about an action plan, and make sure the lunch box carries what the plan requires.
Allergy rules vary from school to school, so this is a case where your school’s own guidance beats any list on a website, including this one.
Make it easier on yourself
A few habits that make the whole system run without much thought:
- Prep on Sunday. Wash and cut fruit and vegetables, cook a pot of rice or pasta, and hard boil a half dozen eggs. Weekday mornings go much faster.
- Buy a good lunch box. Compartments, a decent seal, and room for an ice pack are worth paying a bit more for. If you are watching the budget, what back to school really costs puts the numbers in context.
- Let the kids help. Kids eat what they pack, in general. Give them two choices in each column of the formula and let them pick.
- Send less, not more. A packed lunch that is too big often comes home half full. Start small, and add if your child is hungry.
- Have a backup. Keep a shelf stable option, like a whole grain cracker pack and a fruit cup, for the mornings that fall apart.
The short version
Protein, produce, starch, fun. Two cold sources for anything perishable. A preheated thermos for anything hot. Read the school’s allergy rules before you start. That is the whole system, and it does not need a microwave.
Sources: USDA Food Safety and Inspection Service, Lunchbox Food Safety, USDA, Keep Food Safe: the two hour rule, CDC, food allergy guidance for schools
Common questions
Build the box from four parts: a protein, a produce item, a starch, and something fun. Wraps, pasta salad, bean and cheese quesadillas served cold, hummus with pita and vegetables, and turkey roll ups all work at room temperature or cold, and a preheated thermos handles anything that should be hot.
Preheat the thermos by filling it with boiling water for several minutes, empty it, then fill it with food that is piping hot, at 140 degrees Fahrenheit or above. Keep the lid closed until lunch.
The USDA recommends an insulated lunch bag with at least two cold sources, such as an ice pack plus a frozen juice box or water bottle, so perishable food stays at 40 degrees Fahrenheit or below. Pack the lunch straight from the refrigerator and do not leave perishable food out for more than two hours.
Many schools restrict peanuts and tree nuts, so check the school’s policy and read every label. Sunflower seed butter, soy nut butter, hummus, cheese, sliced meats, and eggs are common substitutes, but always confirm that a product is safe for your child’s specific allergy.